Today we're announcing Kiro, an agentic IDE that enables you do your best work with spec-driven development. Beyond offering agentic chat, Kiro introduces a new way to build with AI using specs and agent hooks.
Getting started is simple:
- Visit kiro.dev and download the installer
- Open the downloaded file and follow the installation instructions for your operating system (Windows, macOS, or Linux)
- Launch Kiro and start coding!
First Run
When you open Kiro for the first time, you'll go through a quick setup process:
- Authentication: Choose your preferred login method from the available social and AWS login options. Learn more about the auth methods.
- Configuration: Optionally import your VS Code settings and extensions. Select your preferred theme and allow Kiro to set up shell integration so the agent can execute commands on your behalf.
Opening Your Project
You can start working with Kiro in two ways:
- Run
kiro .in your project directory - Open Kiro and select a project from the interface
Kiro works with existing projects or new ones created through your usual process (like create-next-app).

Creating Steering Files
Steering files are markdown documents that provide context about your project—your architecture, stack, and conventions. To get started:
- Navigate to the ghost icon in the sidebar
- Click "Generate Steering Docs"
This creates three steering documents for your project: "product", "structure", and "tech". You can open and edit these to match your specific project needs. For example, if you're working with a Next.js and AWS Amplify app, these files will outline your features, app structure, and technology stack.
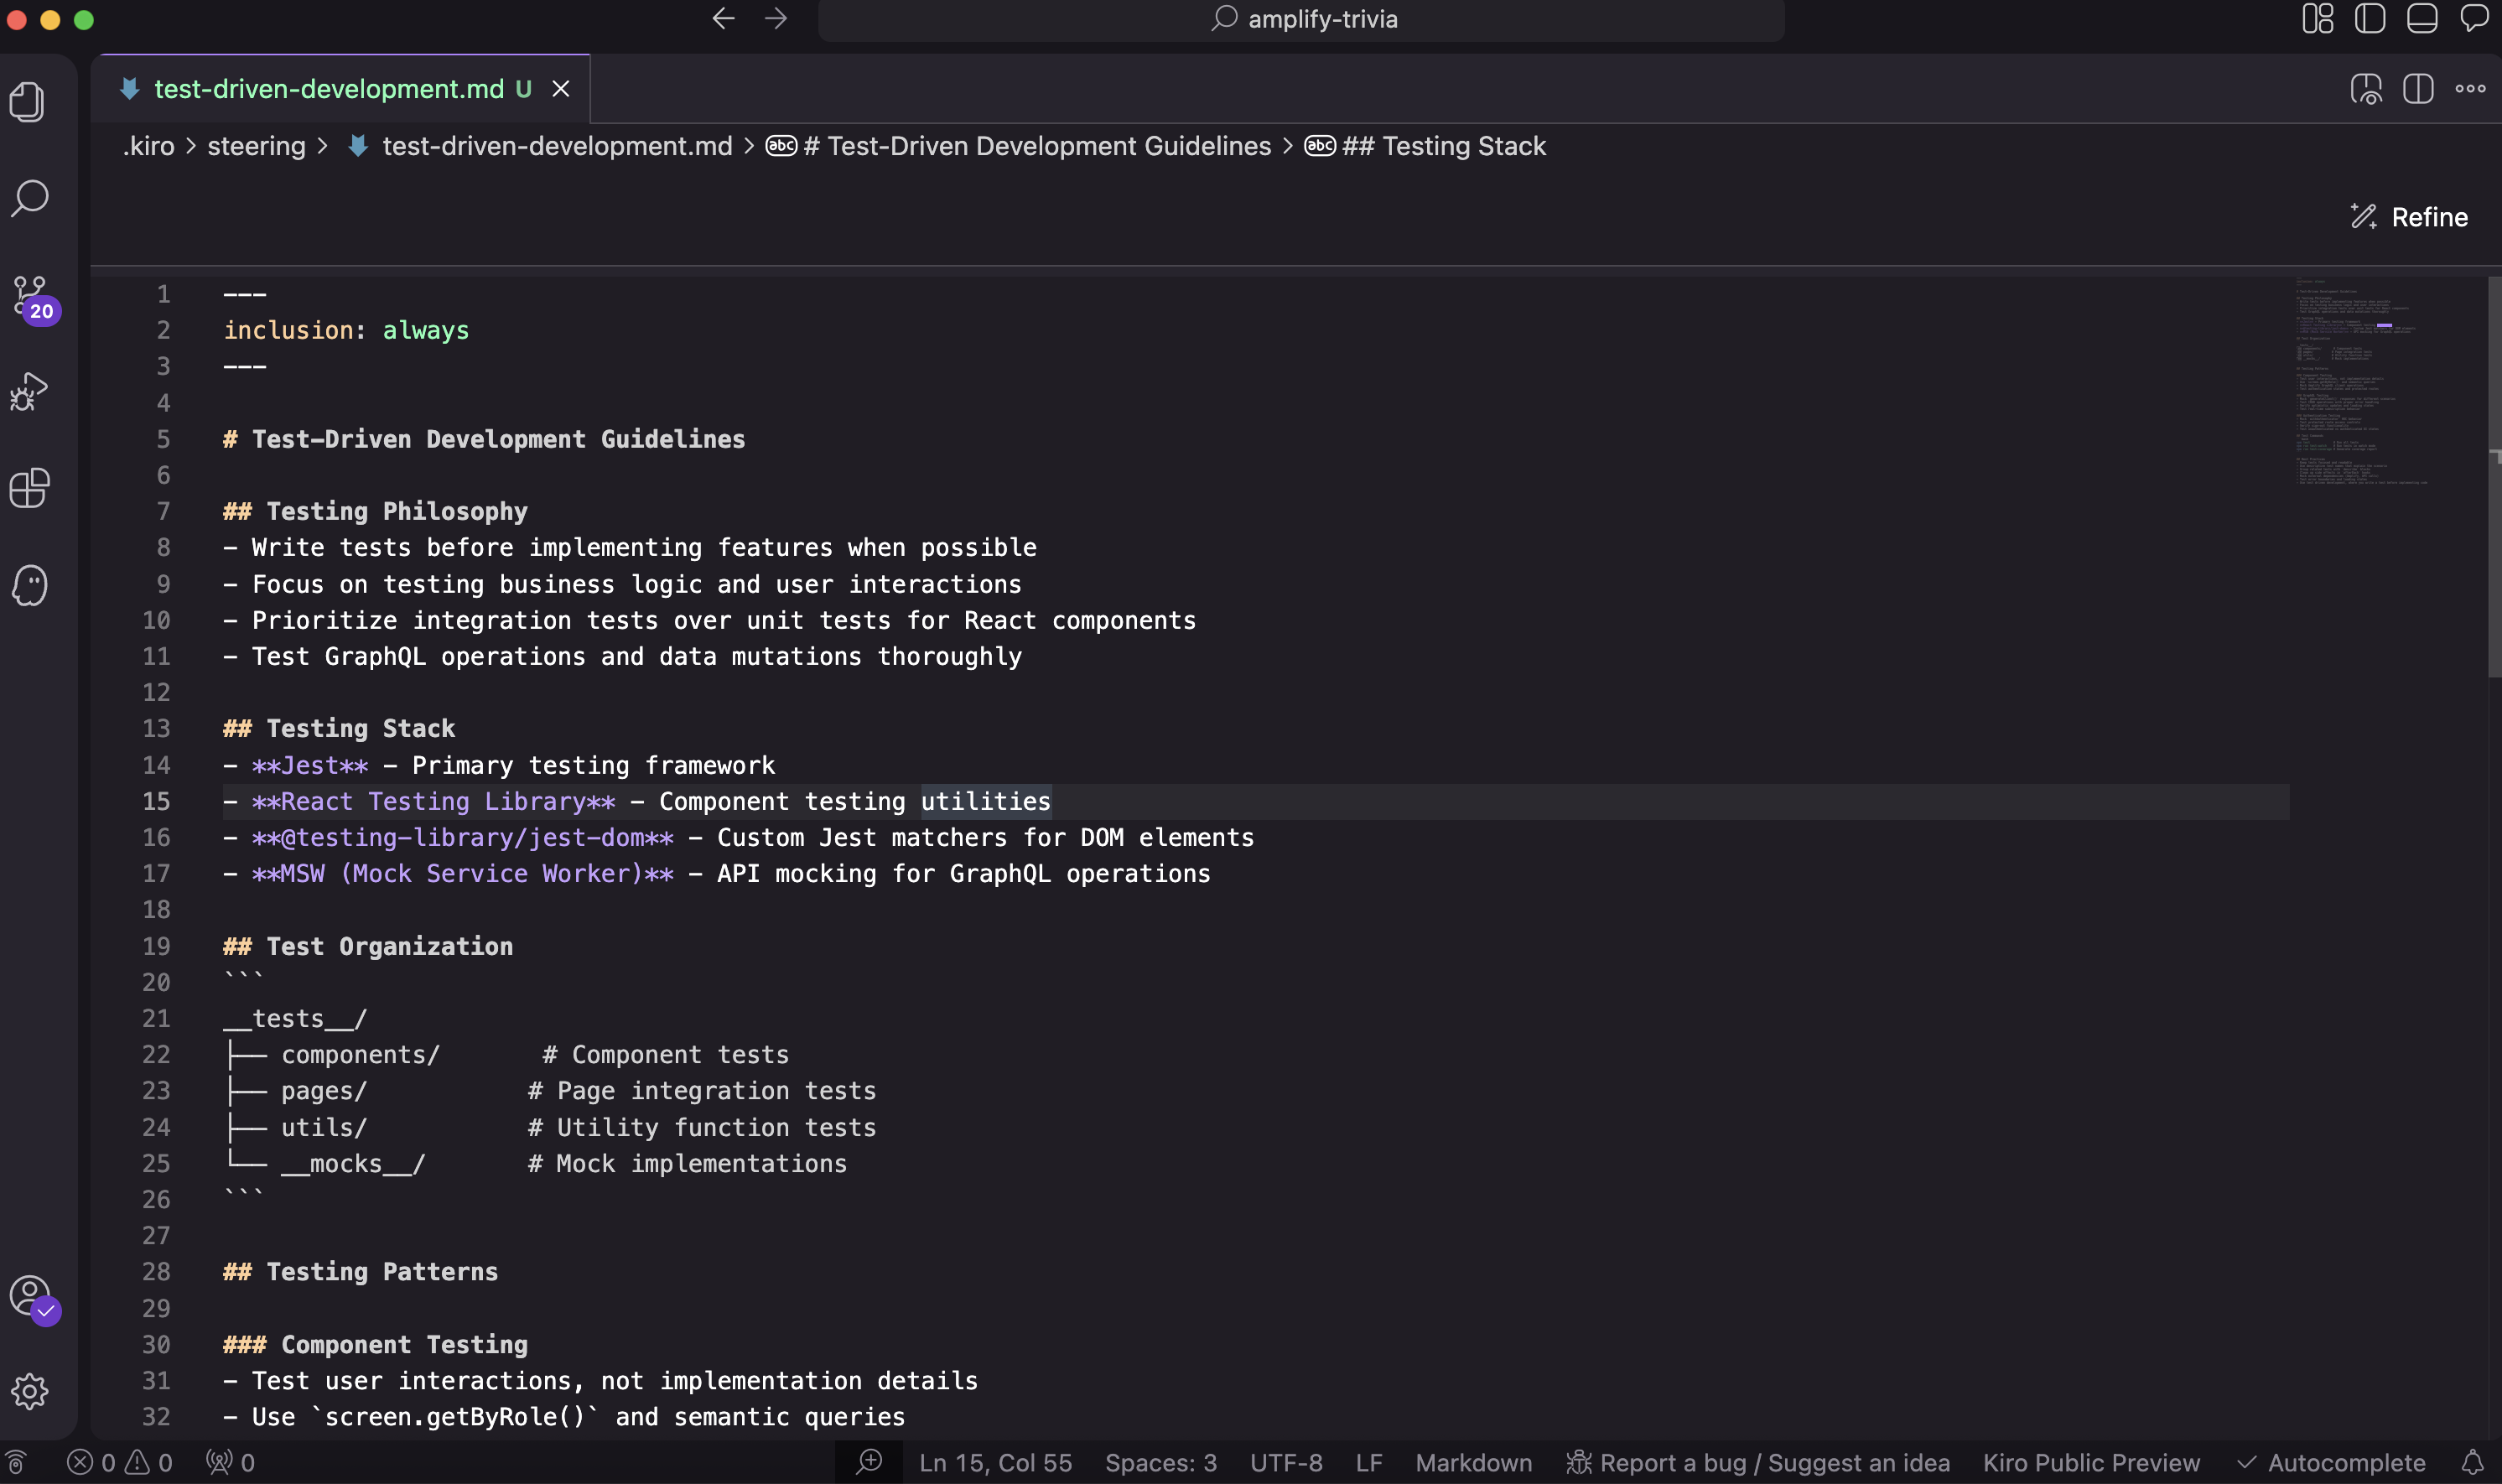
You can also create custom steering files. For instance, you might add a test-driven-development.md file if you want Kiro to write tests before code. Simply add your initial prompt, then click "refine" to let Kiro expand it into a detailed specification.
Vibe Coding
For simple tasks or general conversations with Kiro, you can use the vibe coding feature through the agentic chat on the right side. This mode is perfect for:
- Asking questions about your existing codebase
- Quick prototyping and experimentation
Adding Features with Specs
Specs are Kiro's standout feature for development work. They provide structure to go from idea to production. Here's how the process works:

Requirements Phase
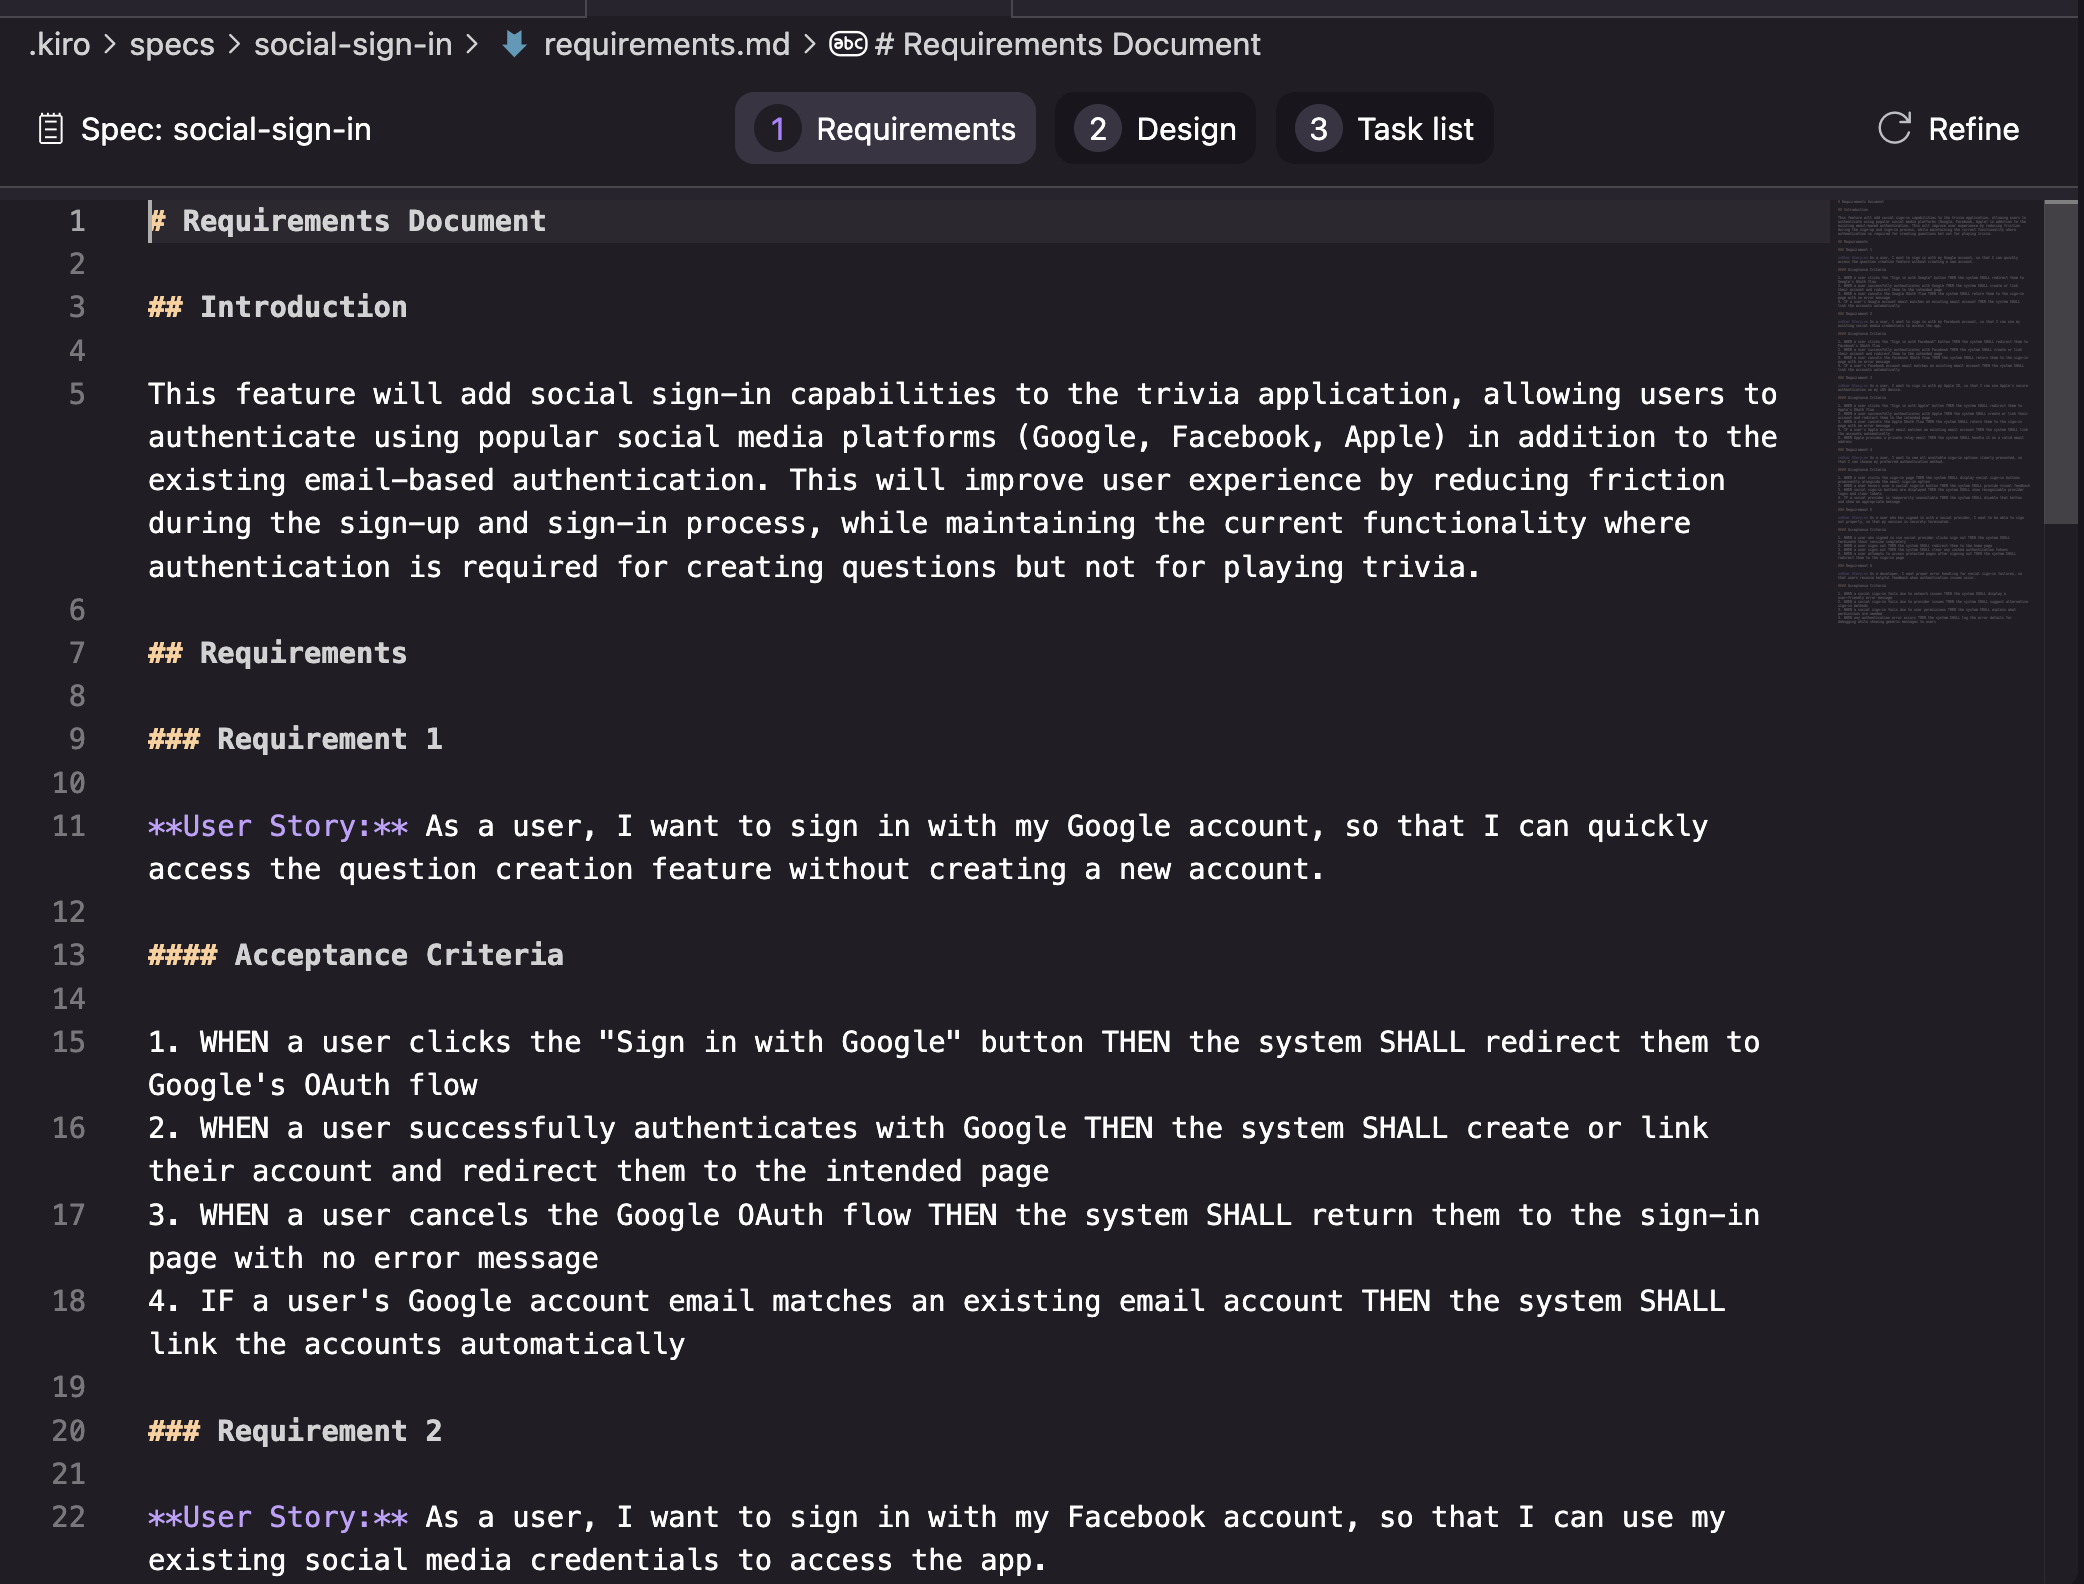
Start by describing your feature (for example, "Add social sign in to my trivia app"). Kiro generates a requirements.md file, similar to what a product manager would create. Review these requirements and make adjustments as needed. You can even request changes through the chat window—like adding sign-in with additional providers.
Design Phase
Once you're satisfied with the requirements, Kiro creates a technical design document based on your requirements and steering files. For TypeScript projects, this includes TypeScript interfaces, user experience flows, high-level architecture, and implementation details. Review and edit as needed.
Implementation Phase
Kiro generates a task list based on your requirements and design. You can edit these tasks directly in the markdown file or through the agentic chat. Work through each task in order, starting with foundational elements like backend configuration.
Pro tip: Create separate specs for each feature to keep task lists manageable and improve collaboration with your team!
Setting Up Agent Hooks
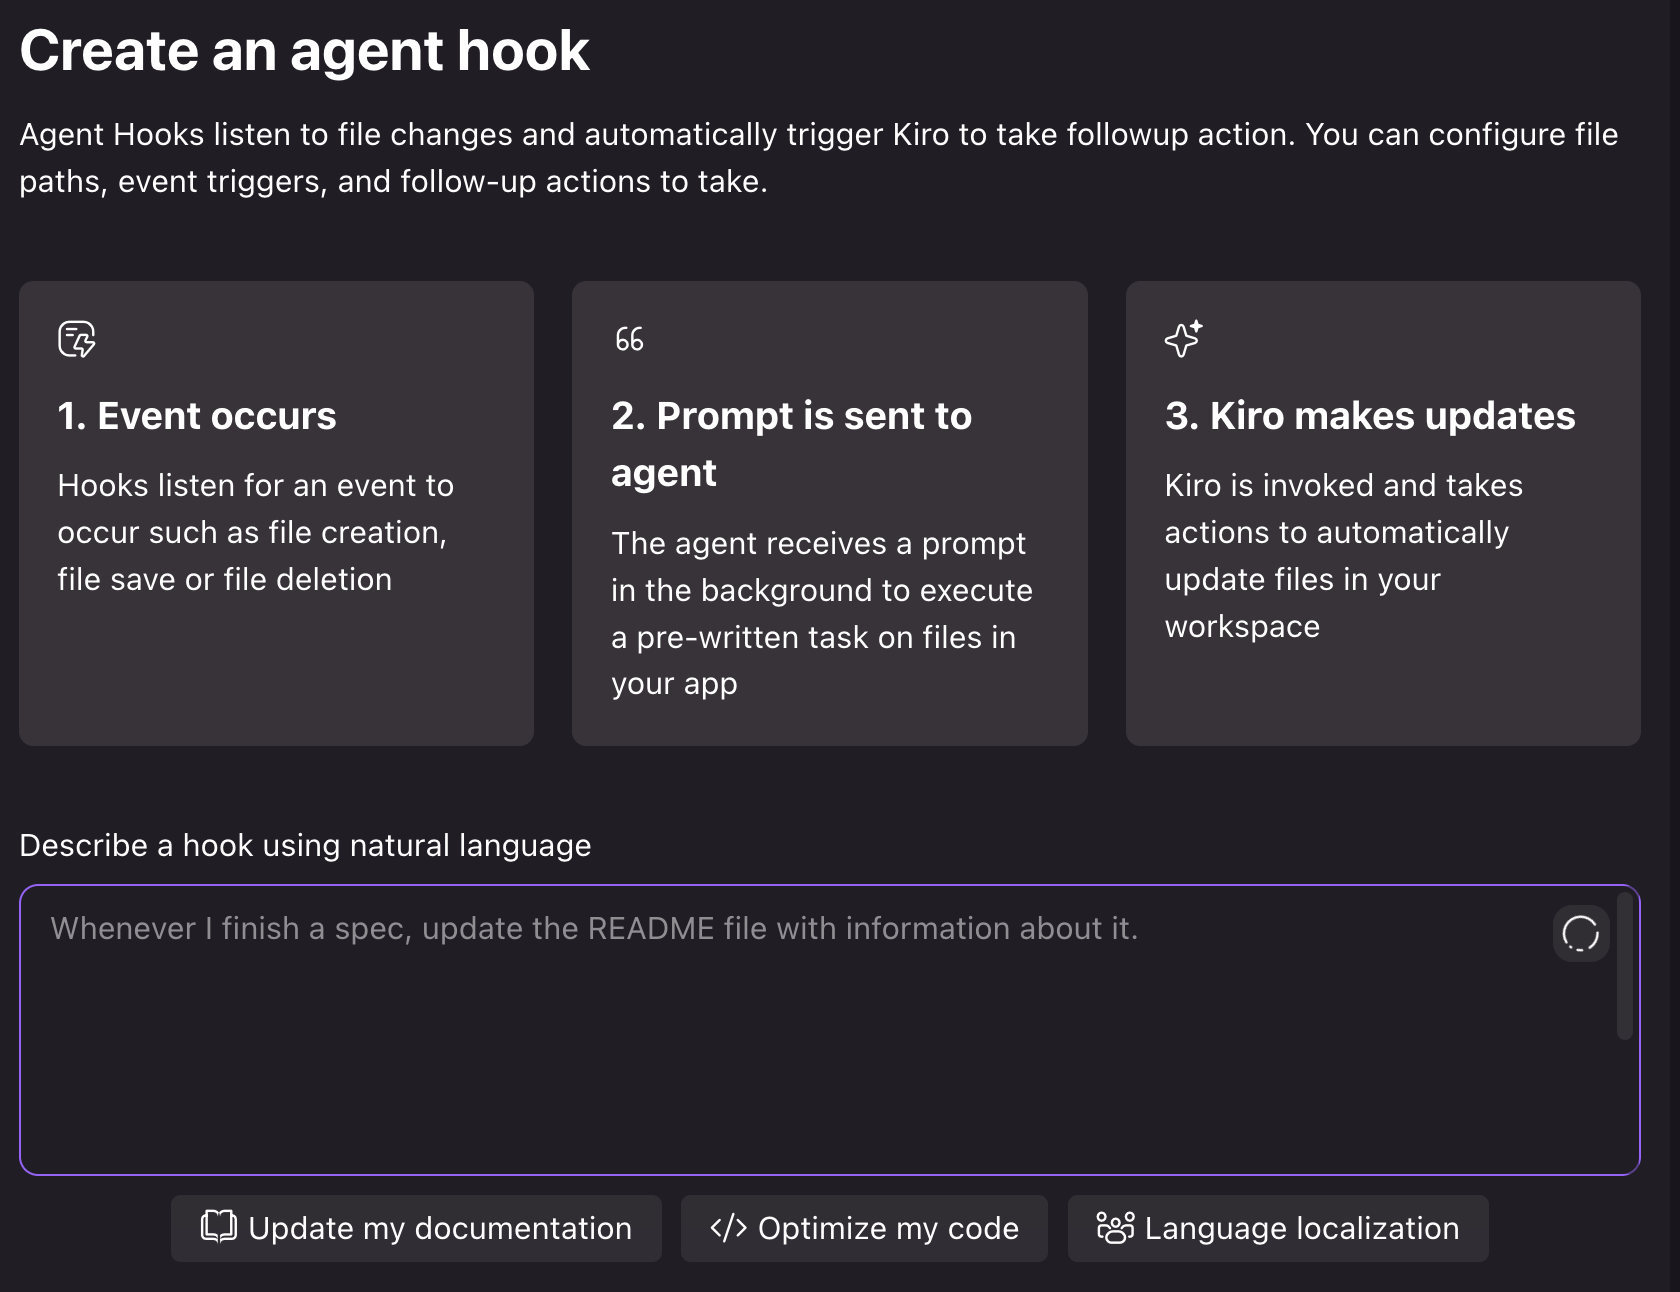
Agent Hooks are automation tools that trigger actions based on specific events, like saving a file. They can handle repetitive tasks such as:
- Writing documentation when you add features
- Updating your README
- Syncing with design systems through the Figma MCP server
- Updating project management tickets
To create an Agent Hook:
- Navigate to the Kiro pane with the ghost icon on the left side
- Click the plus button next to "agent hooks"
- Configure your hook (for example, updating the README each time you add a feature)
Integrating MCP Servers
Kiro supports MCP servers, allowing you to connect external services and tools. For example, to integrate Asana for task management:
- Navigate to the ghost icon on the left side
- Click the edit button
- Add the server configuration following the service's instructions
Here's an example configuration for Asana:
{
  "mcpServers": {
    "fetch": {
      "command": "uvx",
      "args": ["mcp-server-fetch"],
      "env": {},
      "disabled": true,
      "autoApprove": []
    },
+    "asana": {
+      "command": "npx",
+      "args": ["mcp-remote", "https://mcp.asana.com/sse"]
+    }
  }
}
Next Steps
I really love building with Kiro, and even though I don't write code fulltime for work anymore, I always have it in the background building something for me. I've built internal tools for my team, games, and added features to my sites using Kiro. The spec-driven approach really enables you to build production-ready features with your team. The IDE is currently available in public preview with generous free limits during this period.
We'd love to hear your feedback! Share your thoughts on our GitHub repository and download Kiro to start building!